Hi! I know I wrote quite a bit already in the letter included with the items, but I figured a little more about the included photos and videos couldn't hurt anything or might make a bibliophile cringe. I'm not sure which yet.
The items in this package are largely (all but one item) the result of a local shop which I hadn't used prior and only learned about recently. The results are decent but could be a bit better. However they're still suitable for their intended purpose. These would likely be better out of thinner acrylic but as I've found 3mm to be a nice size for a variety of projects that's all I had on hand.
All of these designs were created in SVG using Firefox and Inkscape to check my work. They were then specially prepared for laser cutting by separating out all the engraved items in to one Inkscape layer and lines for cuts or etching into another. This laser's software couldn't handle engraving only part of a design, necessitating this preparation as anything that showed up when "printed" to the laser software would be engraved if you're in that mode. Conversely, the "vector" mode offered the more expected control of laser settings (power, speed, number of repetitions) per line color.
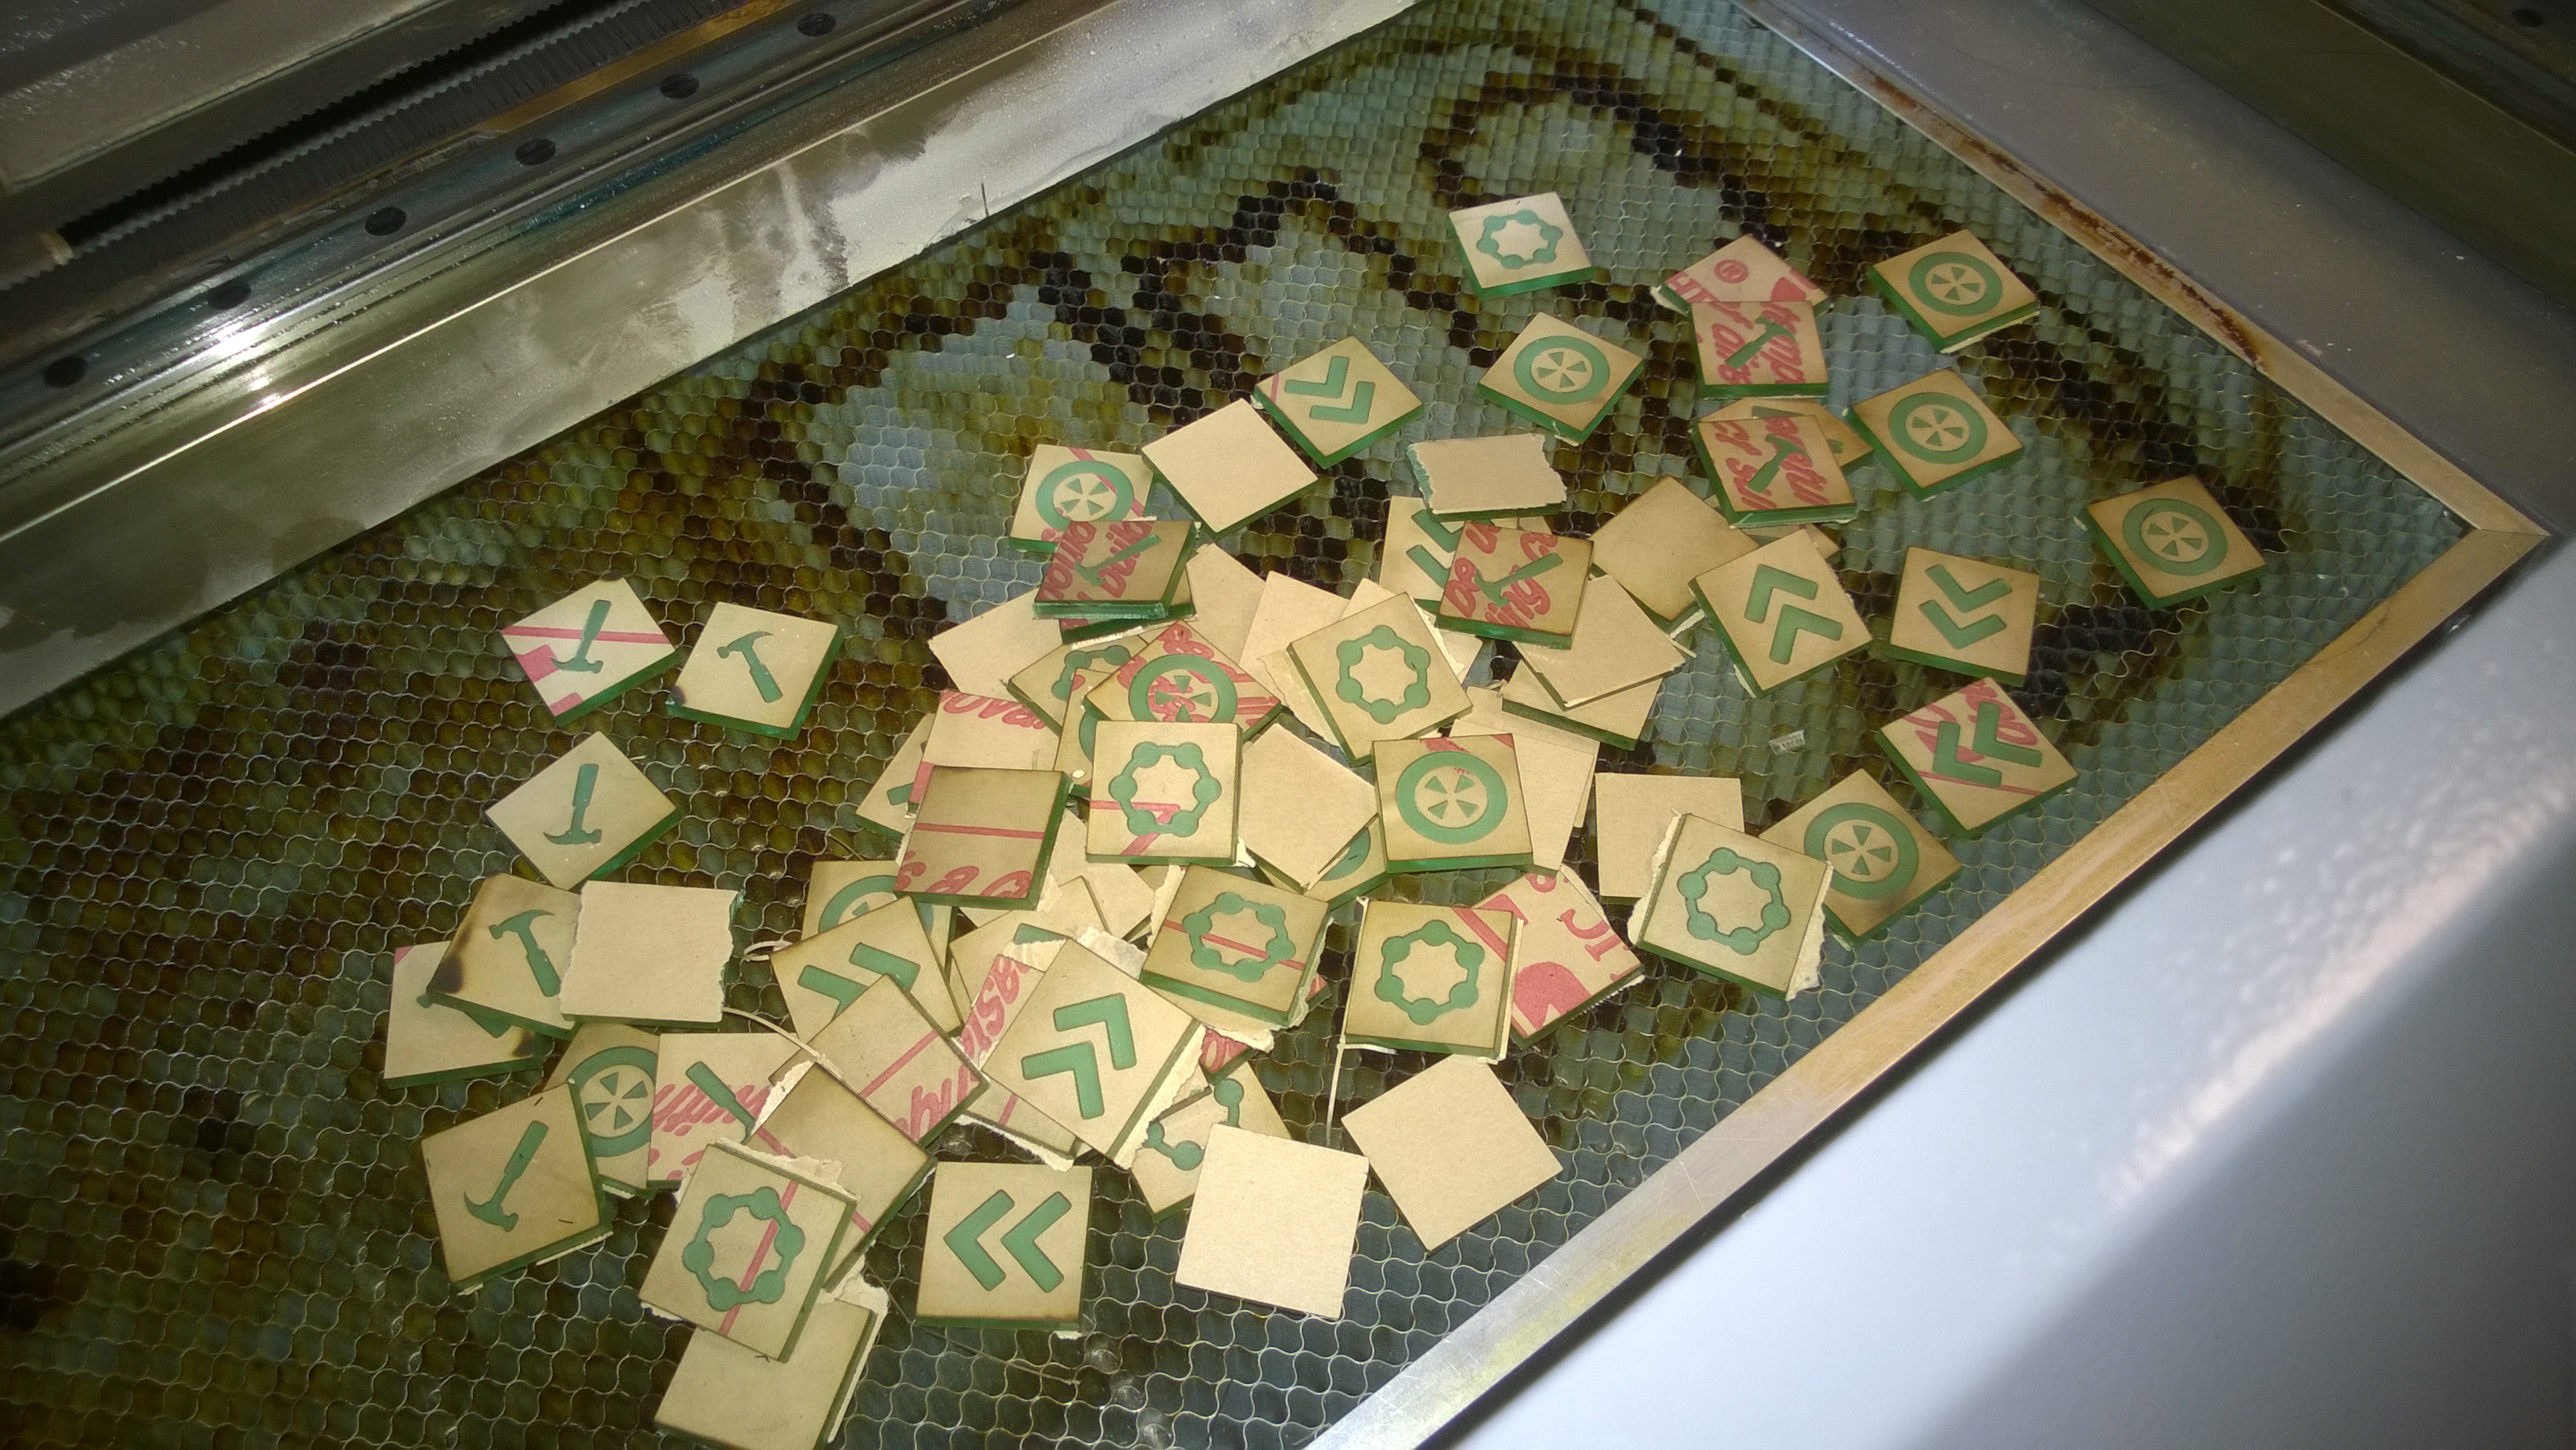
This first video, captured by my phone, shows the engraving process. It goes from left to right then top to bottom turning on and off the laser as it goes across. Designs with engraving will take longer.
As seen in the upper right, these pieces had been attempted once before, and I almost melted them completely. These pieces were the most complex of the entire set by having engraving, an etched line, and two different sets of cuts per piece. The engraving part went alright, but the laser cutter optimized the cuts to happen back to back for each piece and so the surrounding acrylic got just hot enough to begin warping. I ended up doing the etch line and cuts as three separate runs over the same sheet to give the acrylic time to cool down in the amount of time it took me to set up the next pass.
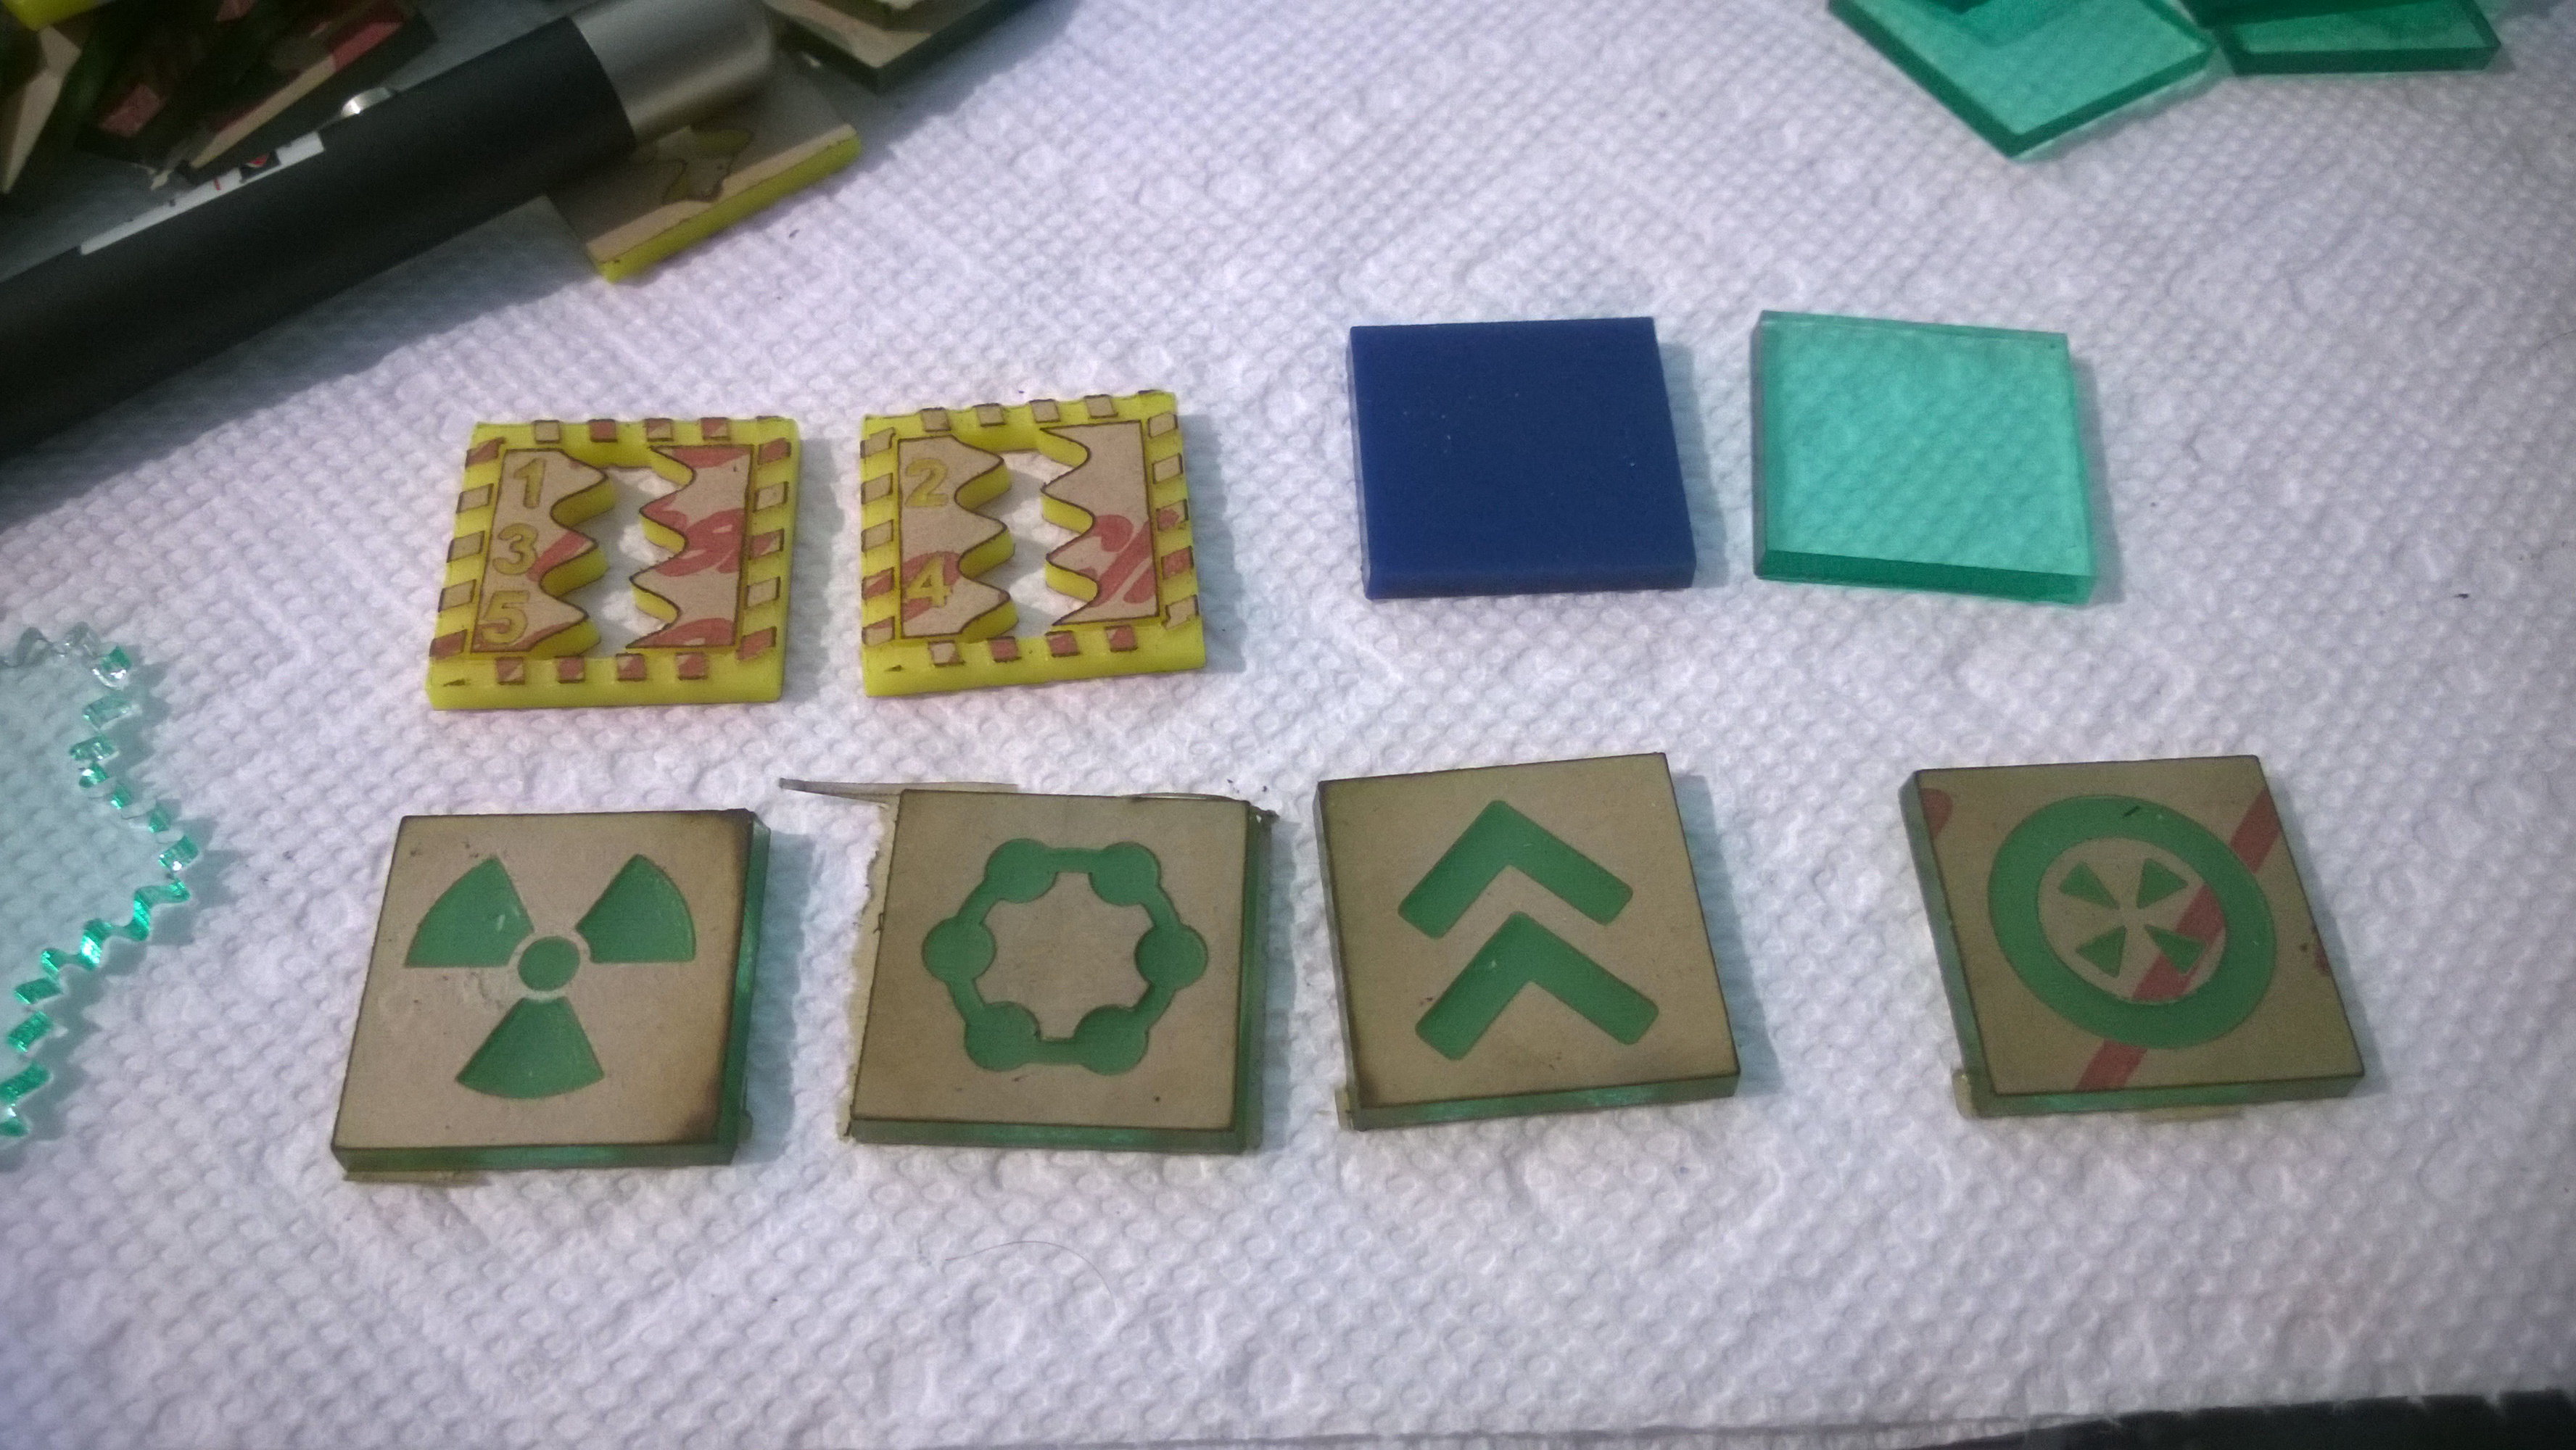
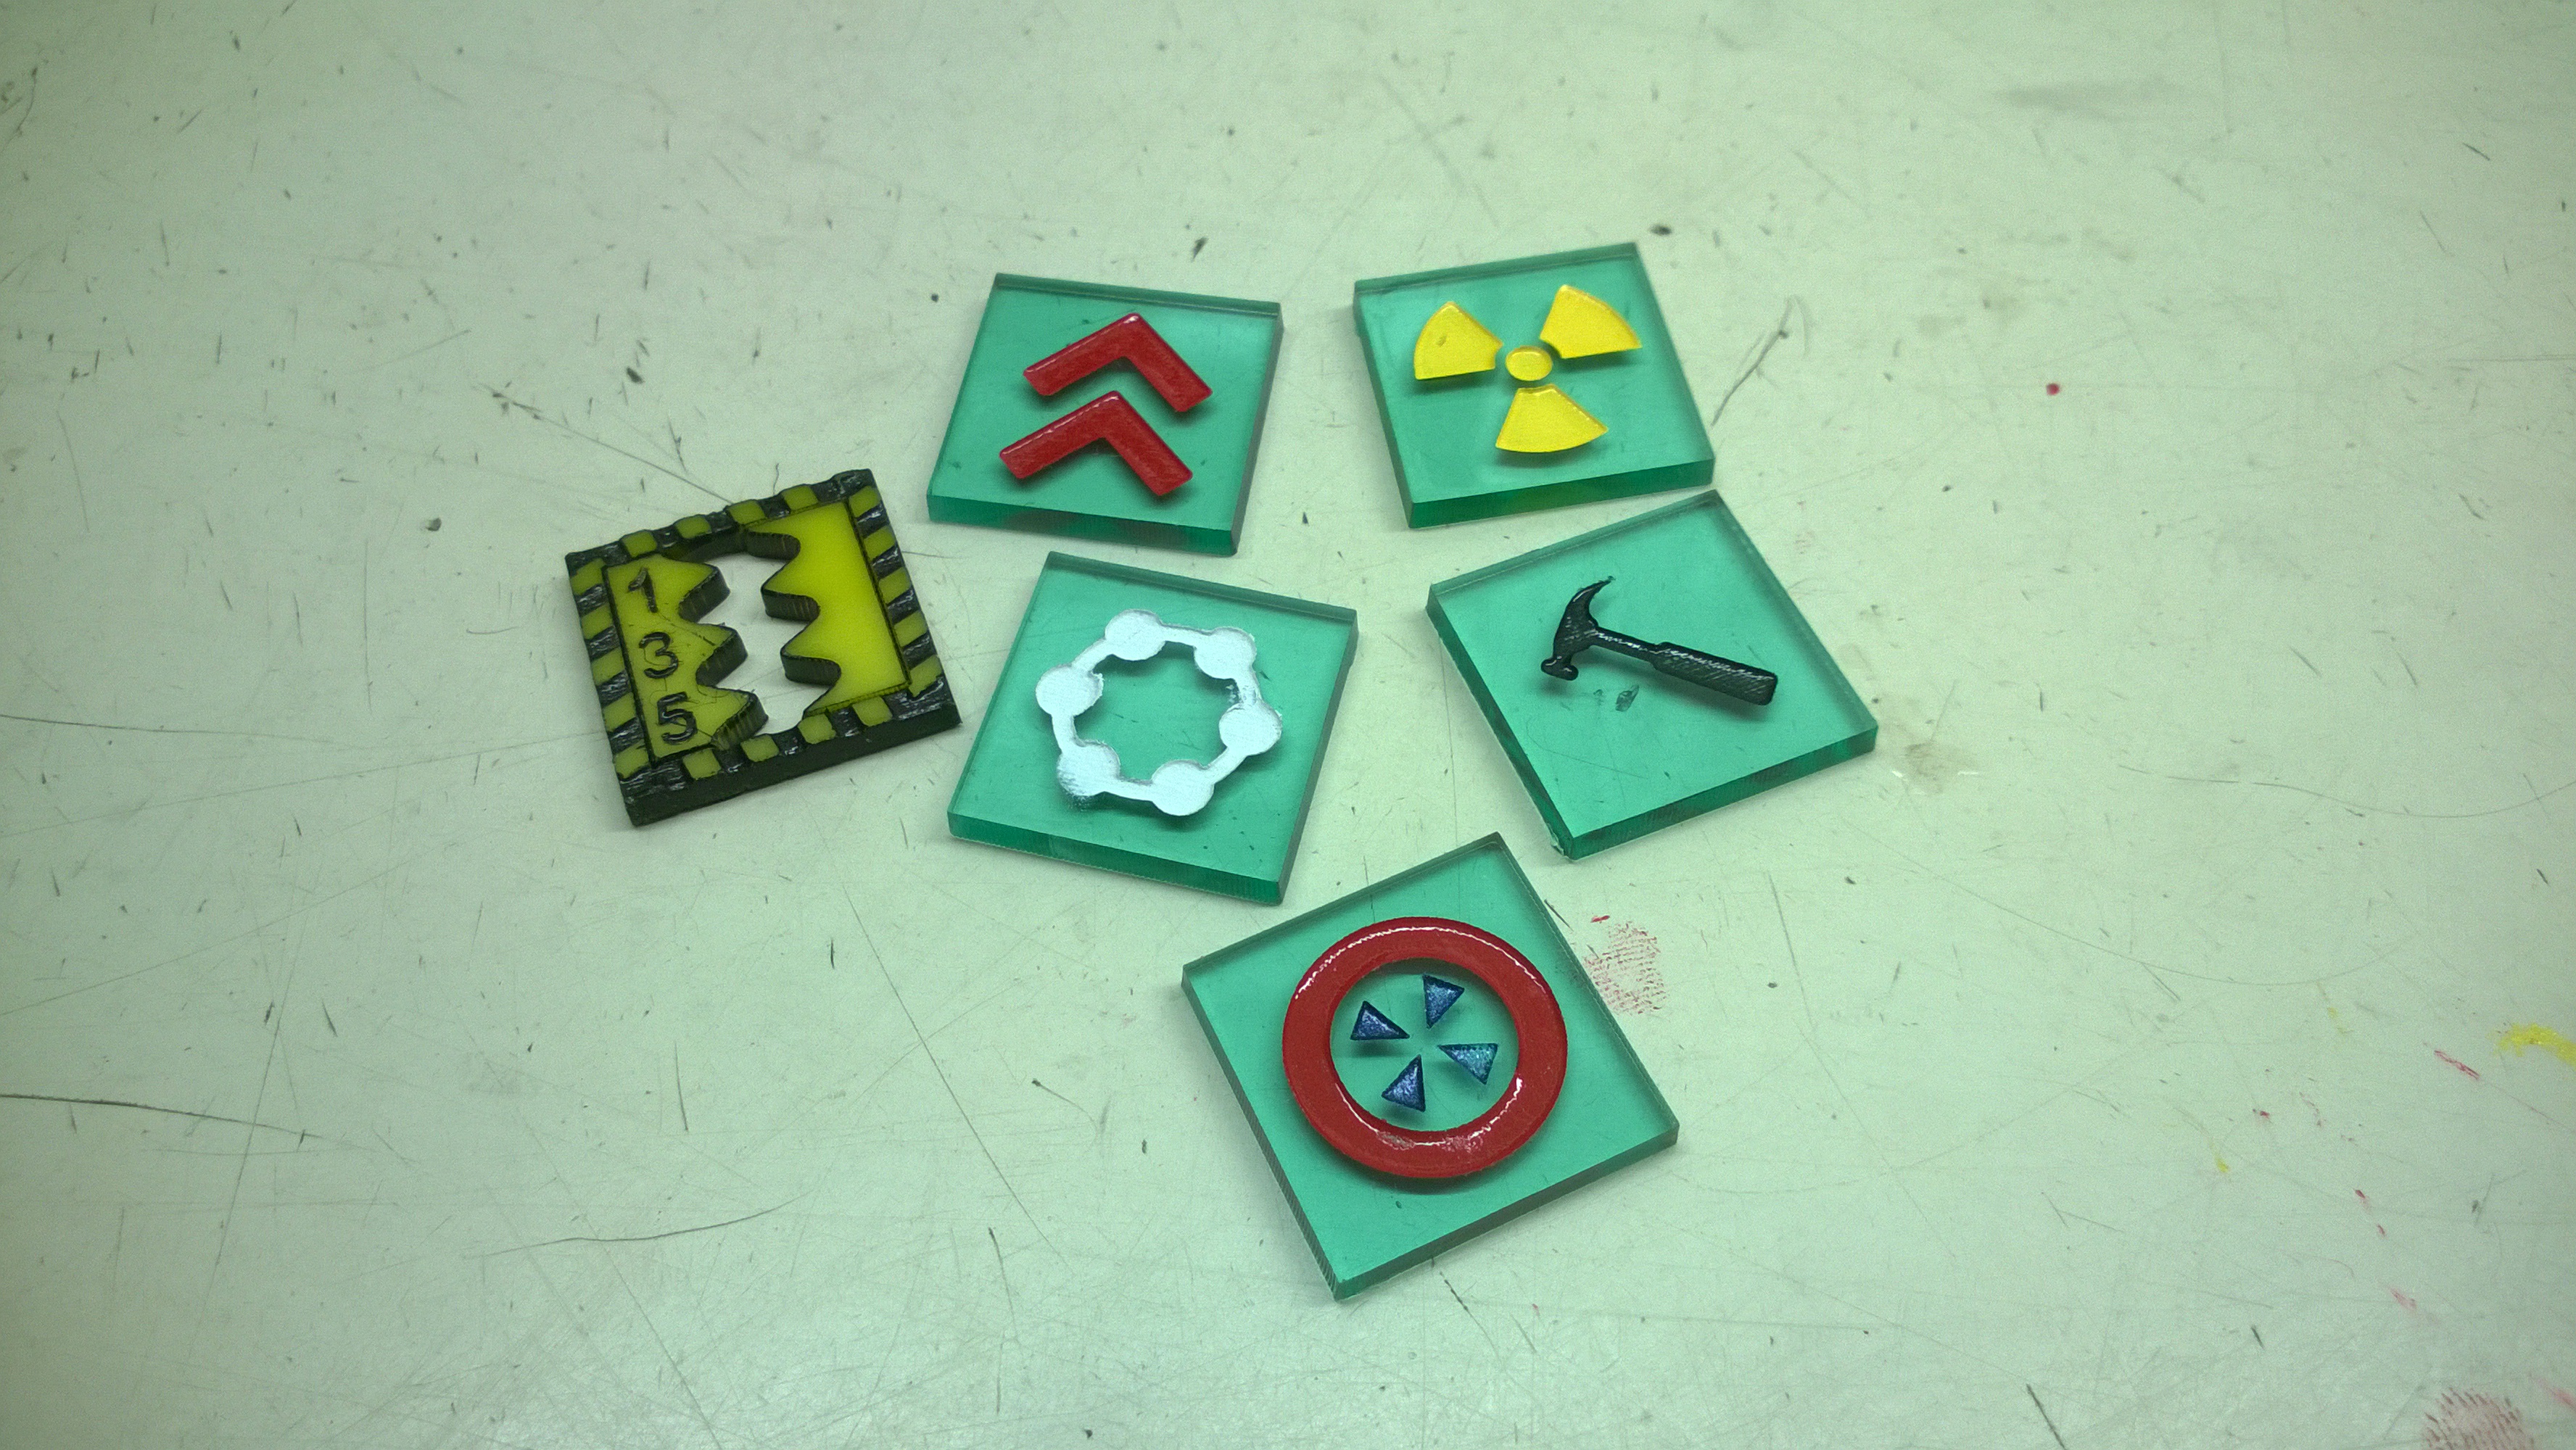
End result? Success! Except for the bit where I accidentally used my translucent green acrylic for everything instead of the clear green-edged acrylic. There's more in the following photos than I'm sending because I made a set for myself. Why not? :)
If I had time before sending this off I'd go back and get the necessary parts re-cut out of the clear acrylic. However seeing as I don't, I'll likely play around with the existing green set to find out if it's worth it to me to go back and do those again for myself.
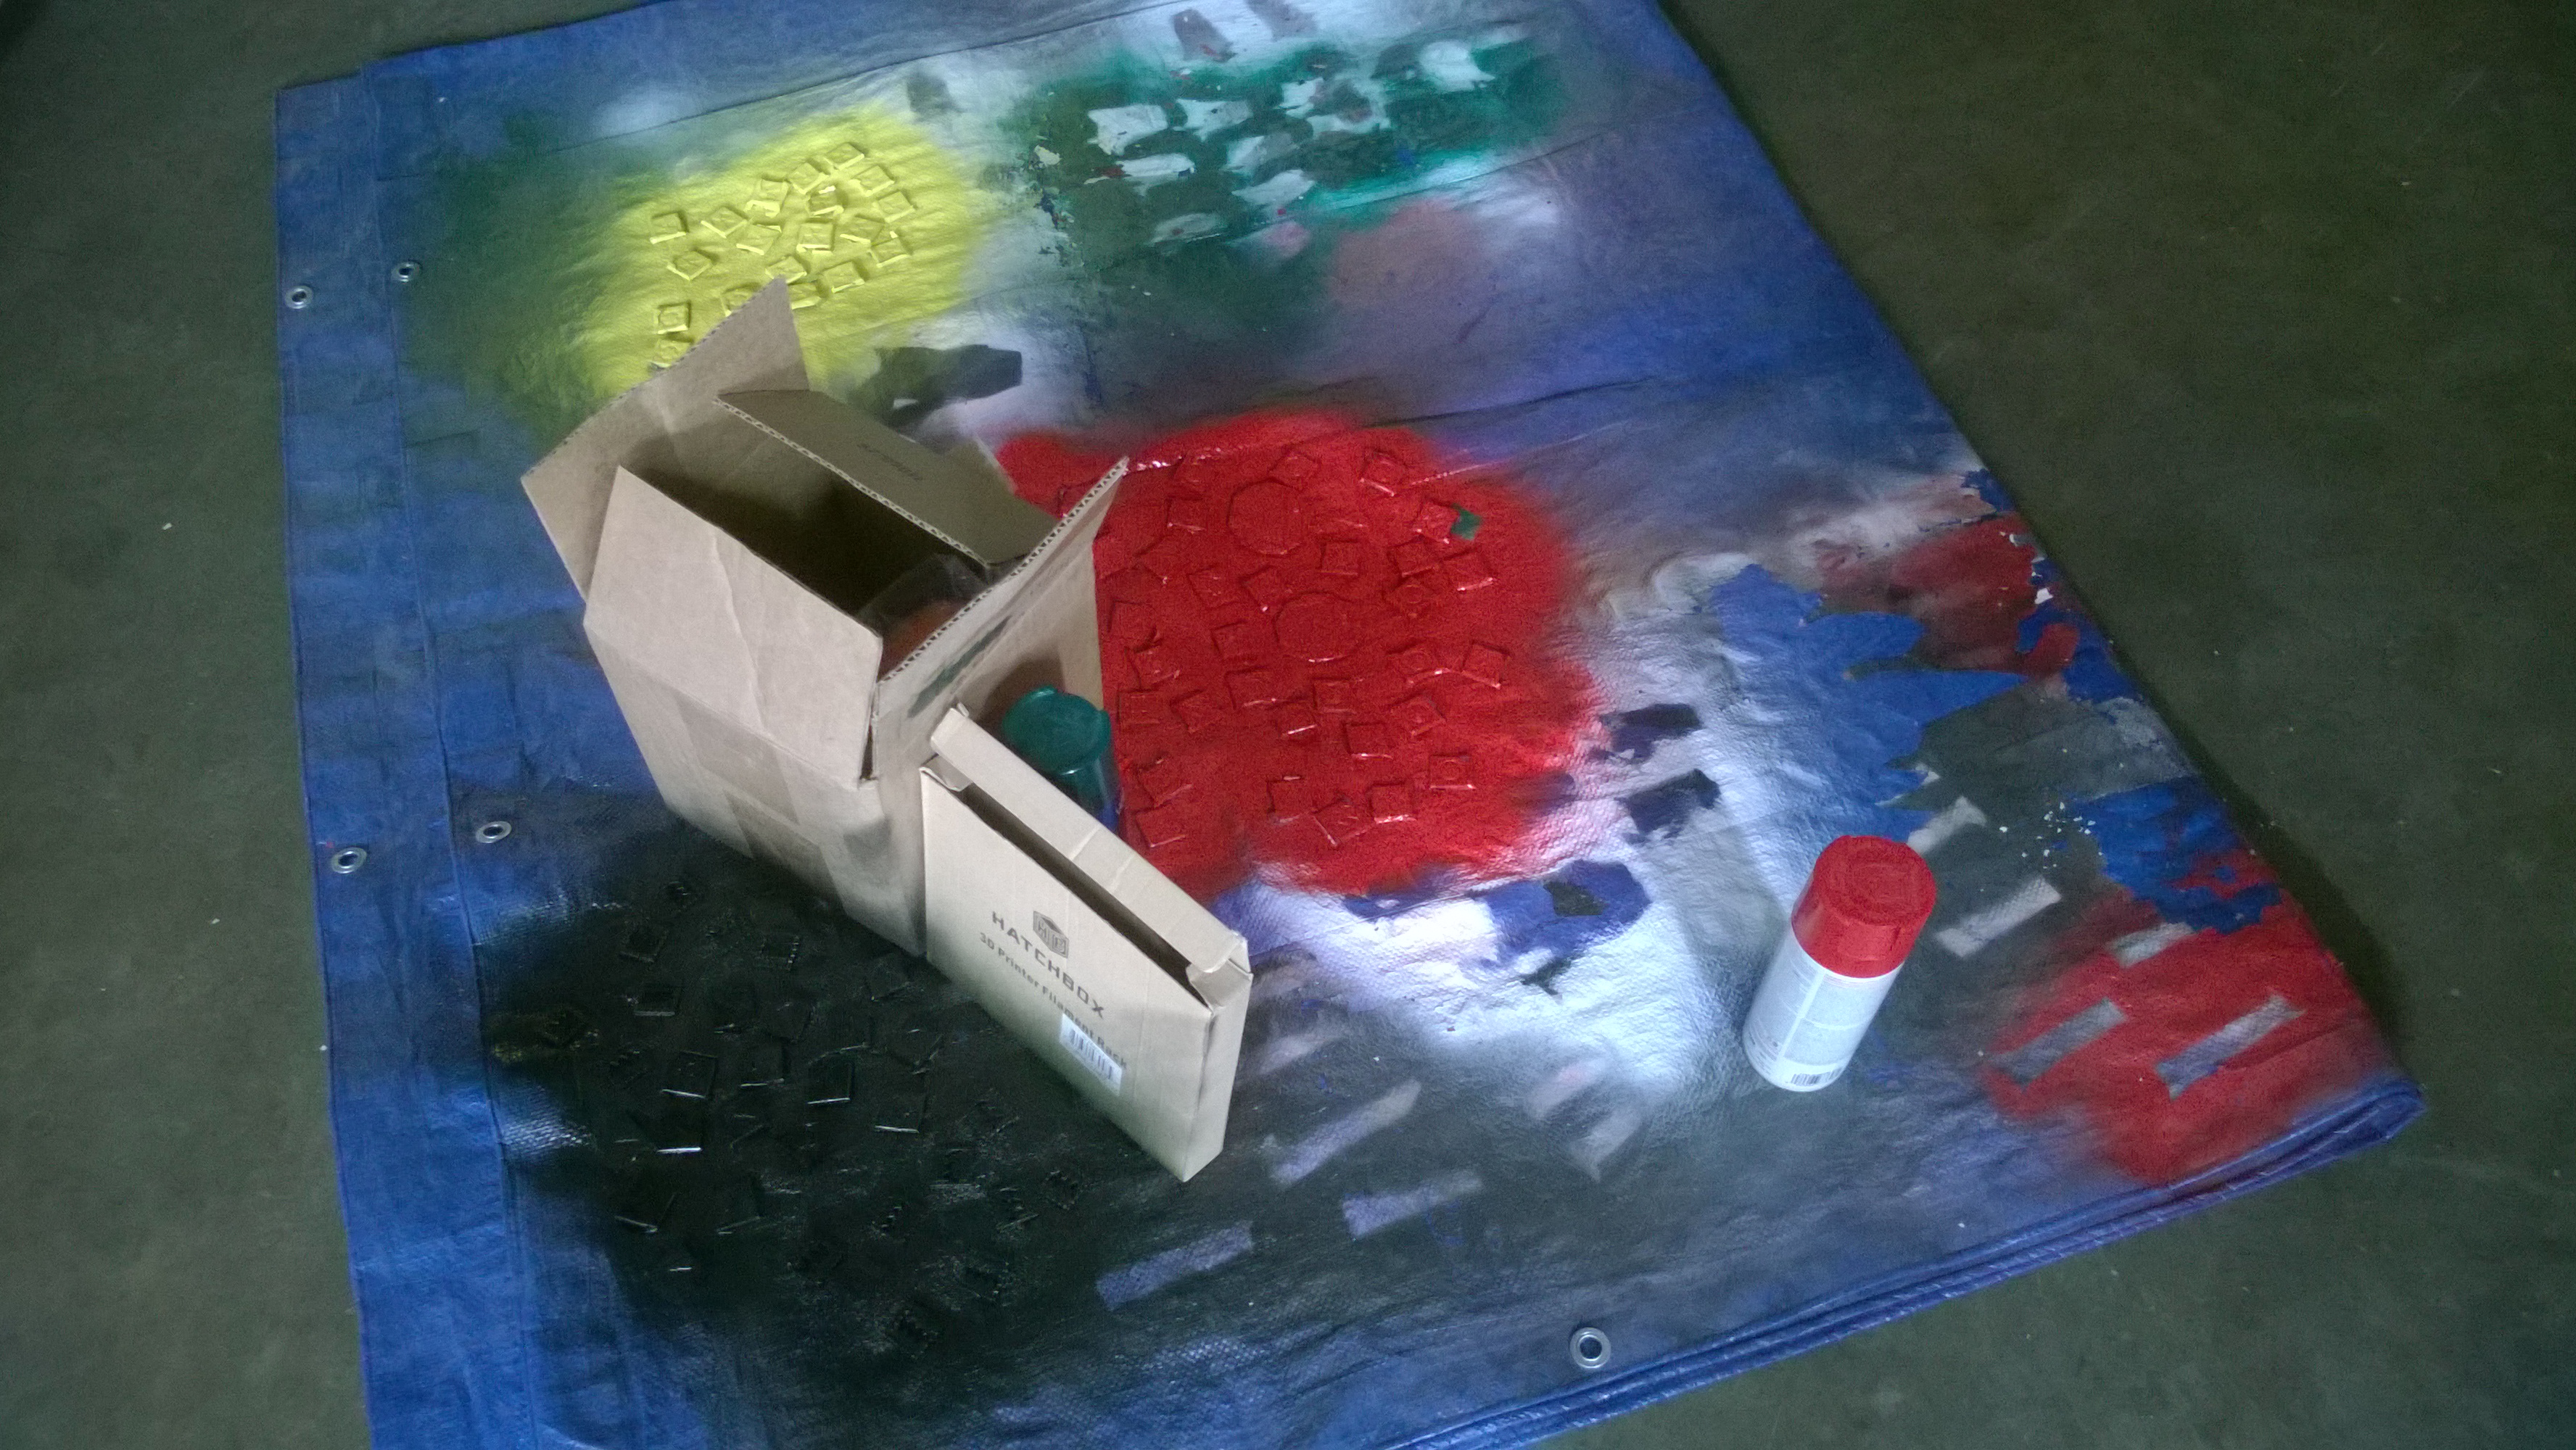
I used to just send off acrylic engravings as is, because the other place's machine would leave behind a white dust that would partly stay even after the loose dust was brushed off. It does look nice, but it won't last. Eventually the remainders would disappear with time and use. Instead, I turned to spray painting my cutouts. The paper backing that comes on acrylic makes for a nicer engraving when left on and provides a natural design-fitting mask all ready to go. All I need do is mask off the remaining parts I don't want to paint and off I go.
Of course, that makes it sound easy. Sometimes it can be quite tedious, especially if there's intricate parts of the design. Thankfully most of these will have just a single color and only need edge masking.
Now I've got all the pieces taped up and ready for painting. The teleporters will require me to untape and retape them to do the colors on the inside separately. I will later wish I had just done them all in a single color.
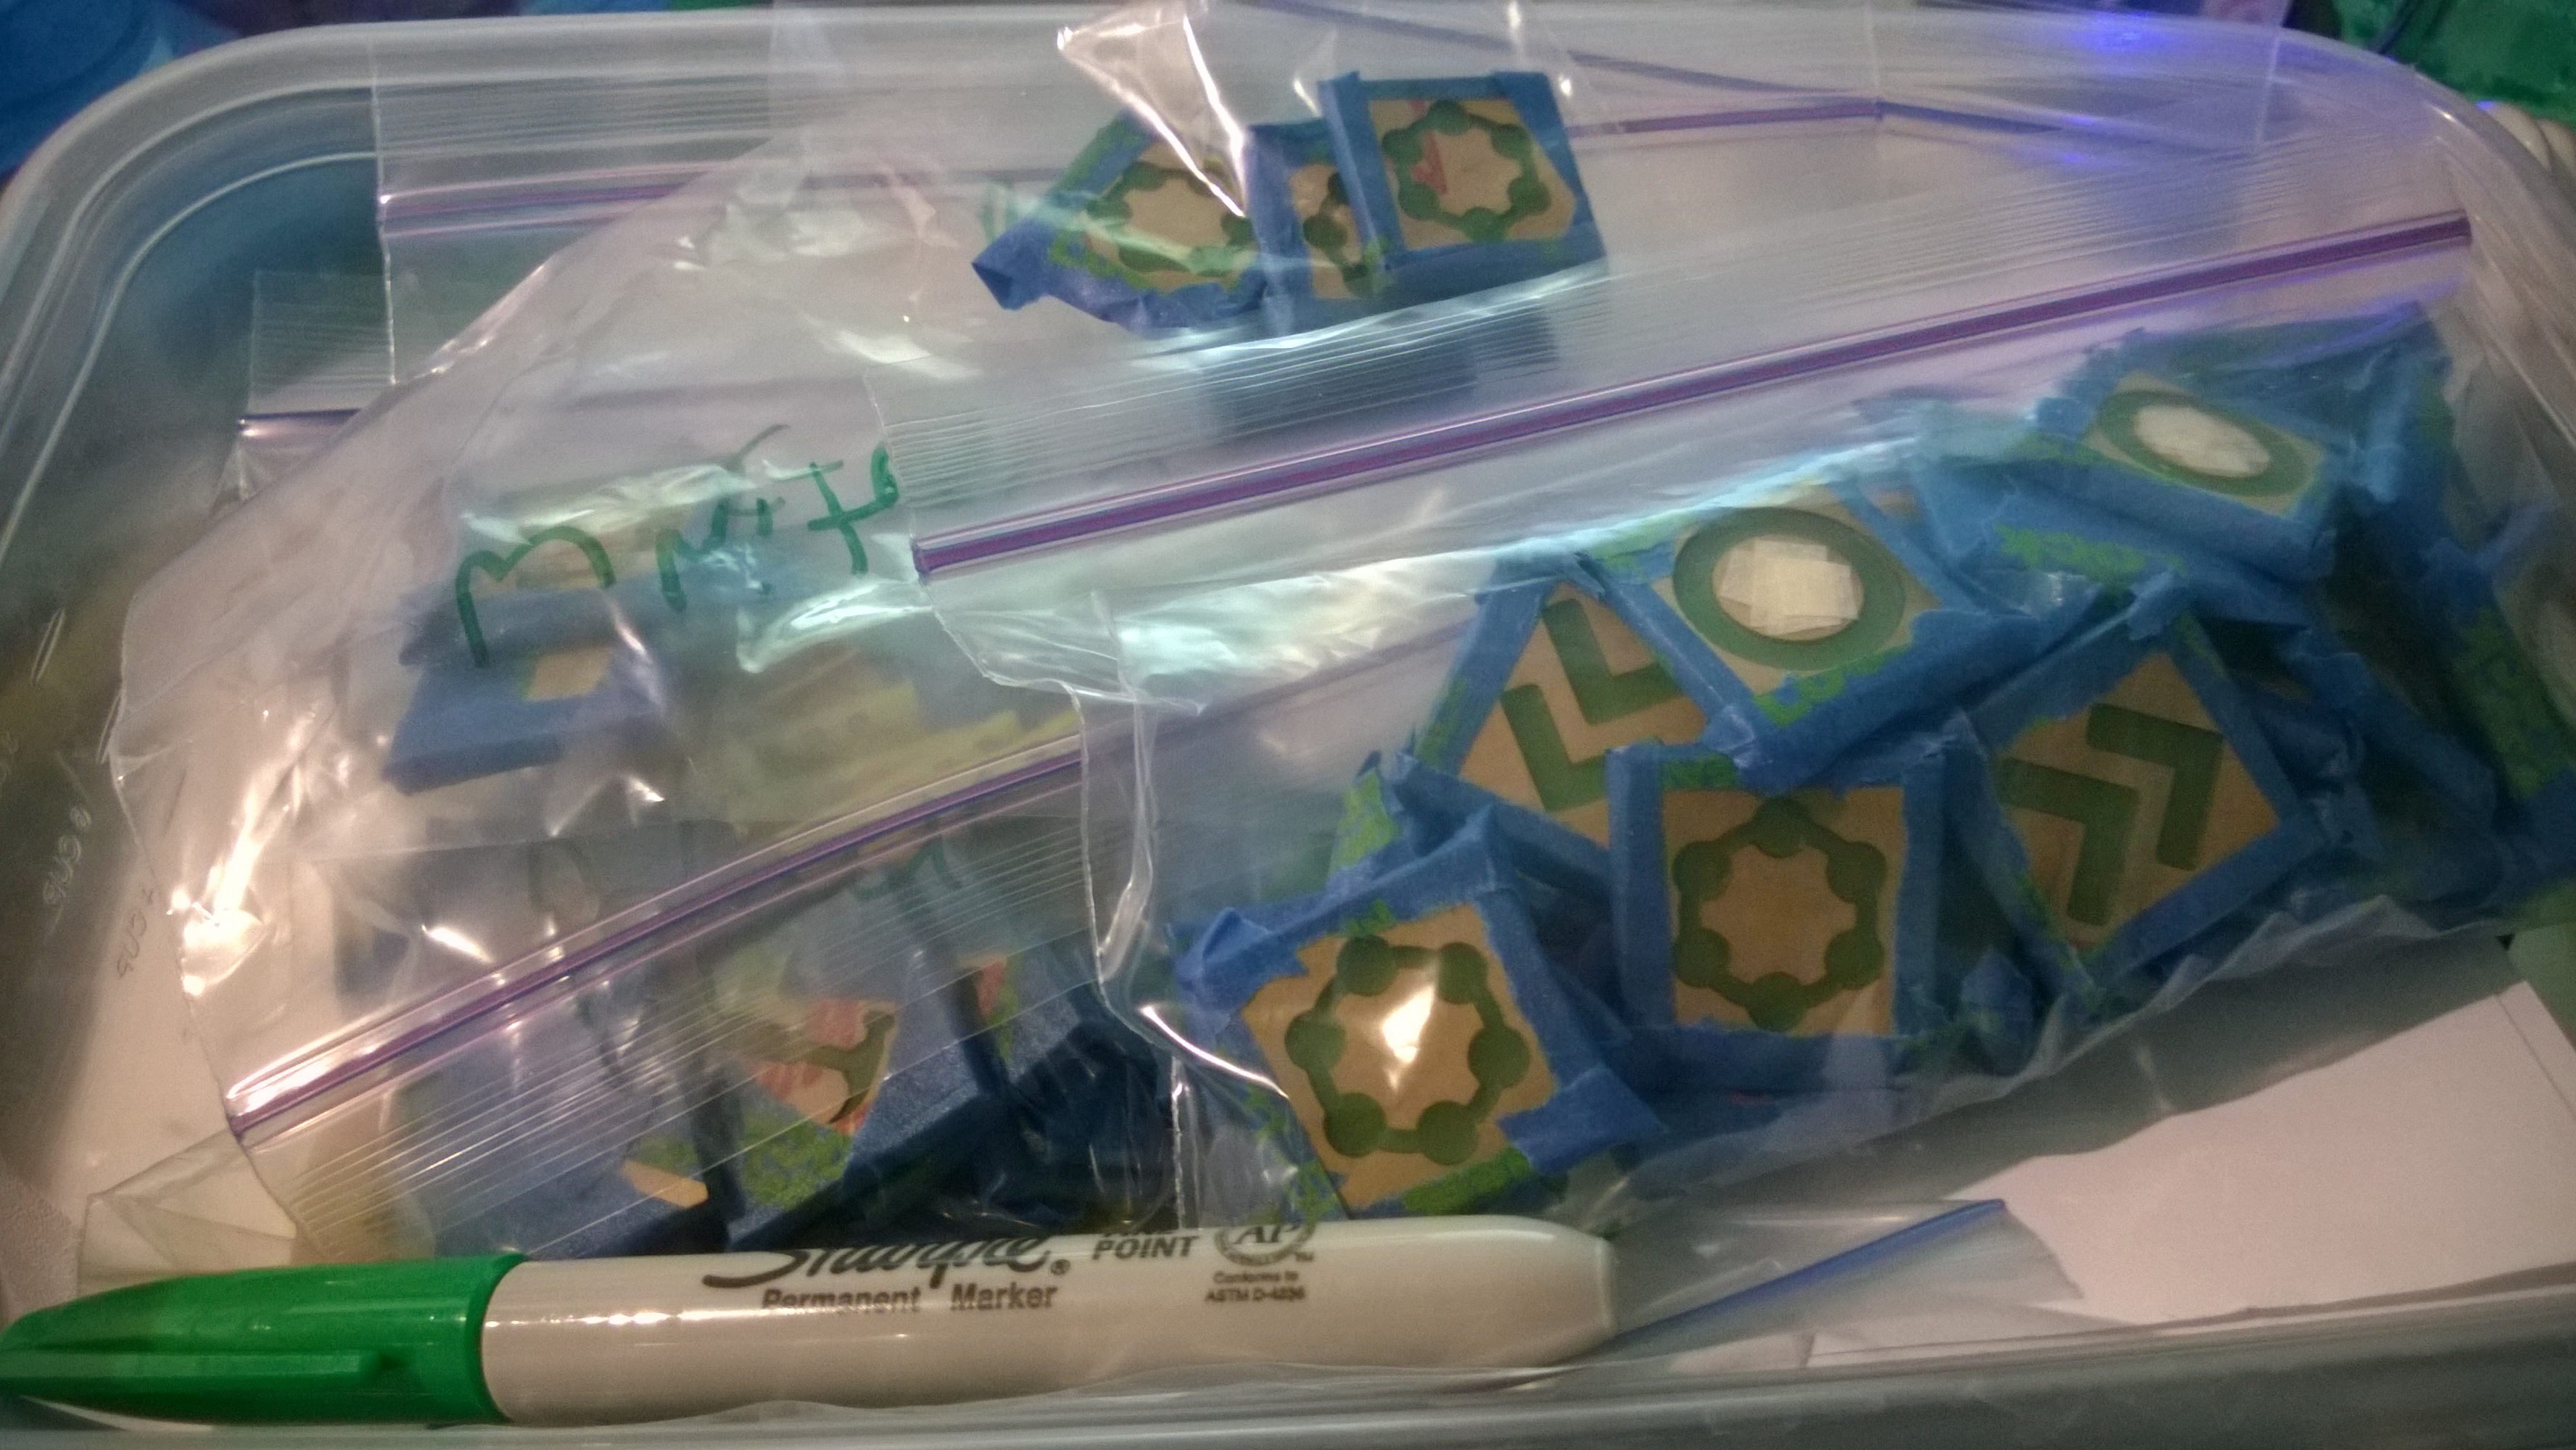
As NOAA says this week will be mostly in the 50s°F (~12°C) and I need at least 60 to get the paint to dry properly, I'm borrowing the garage space of the local hackerspace I am on the board of which isn't even officially open yet to anyone other than the board except by invite. Shhh! :)
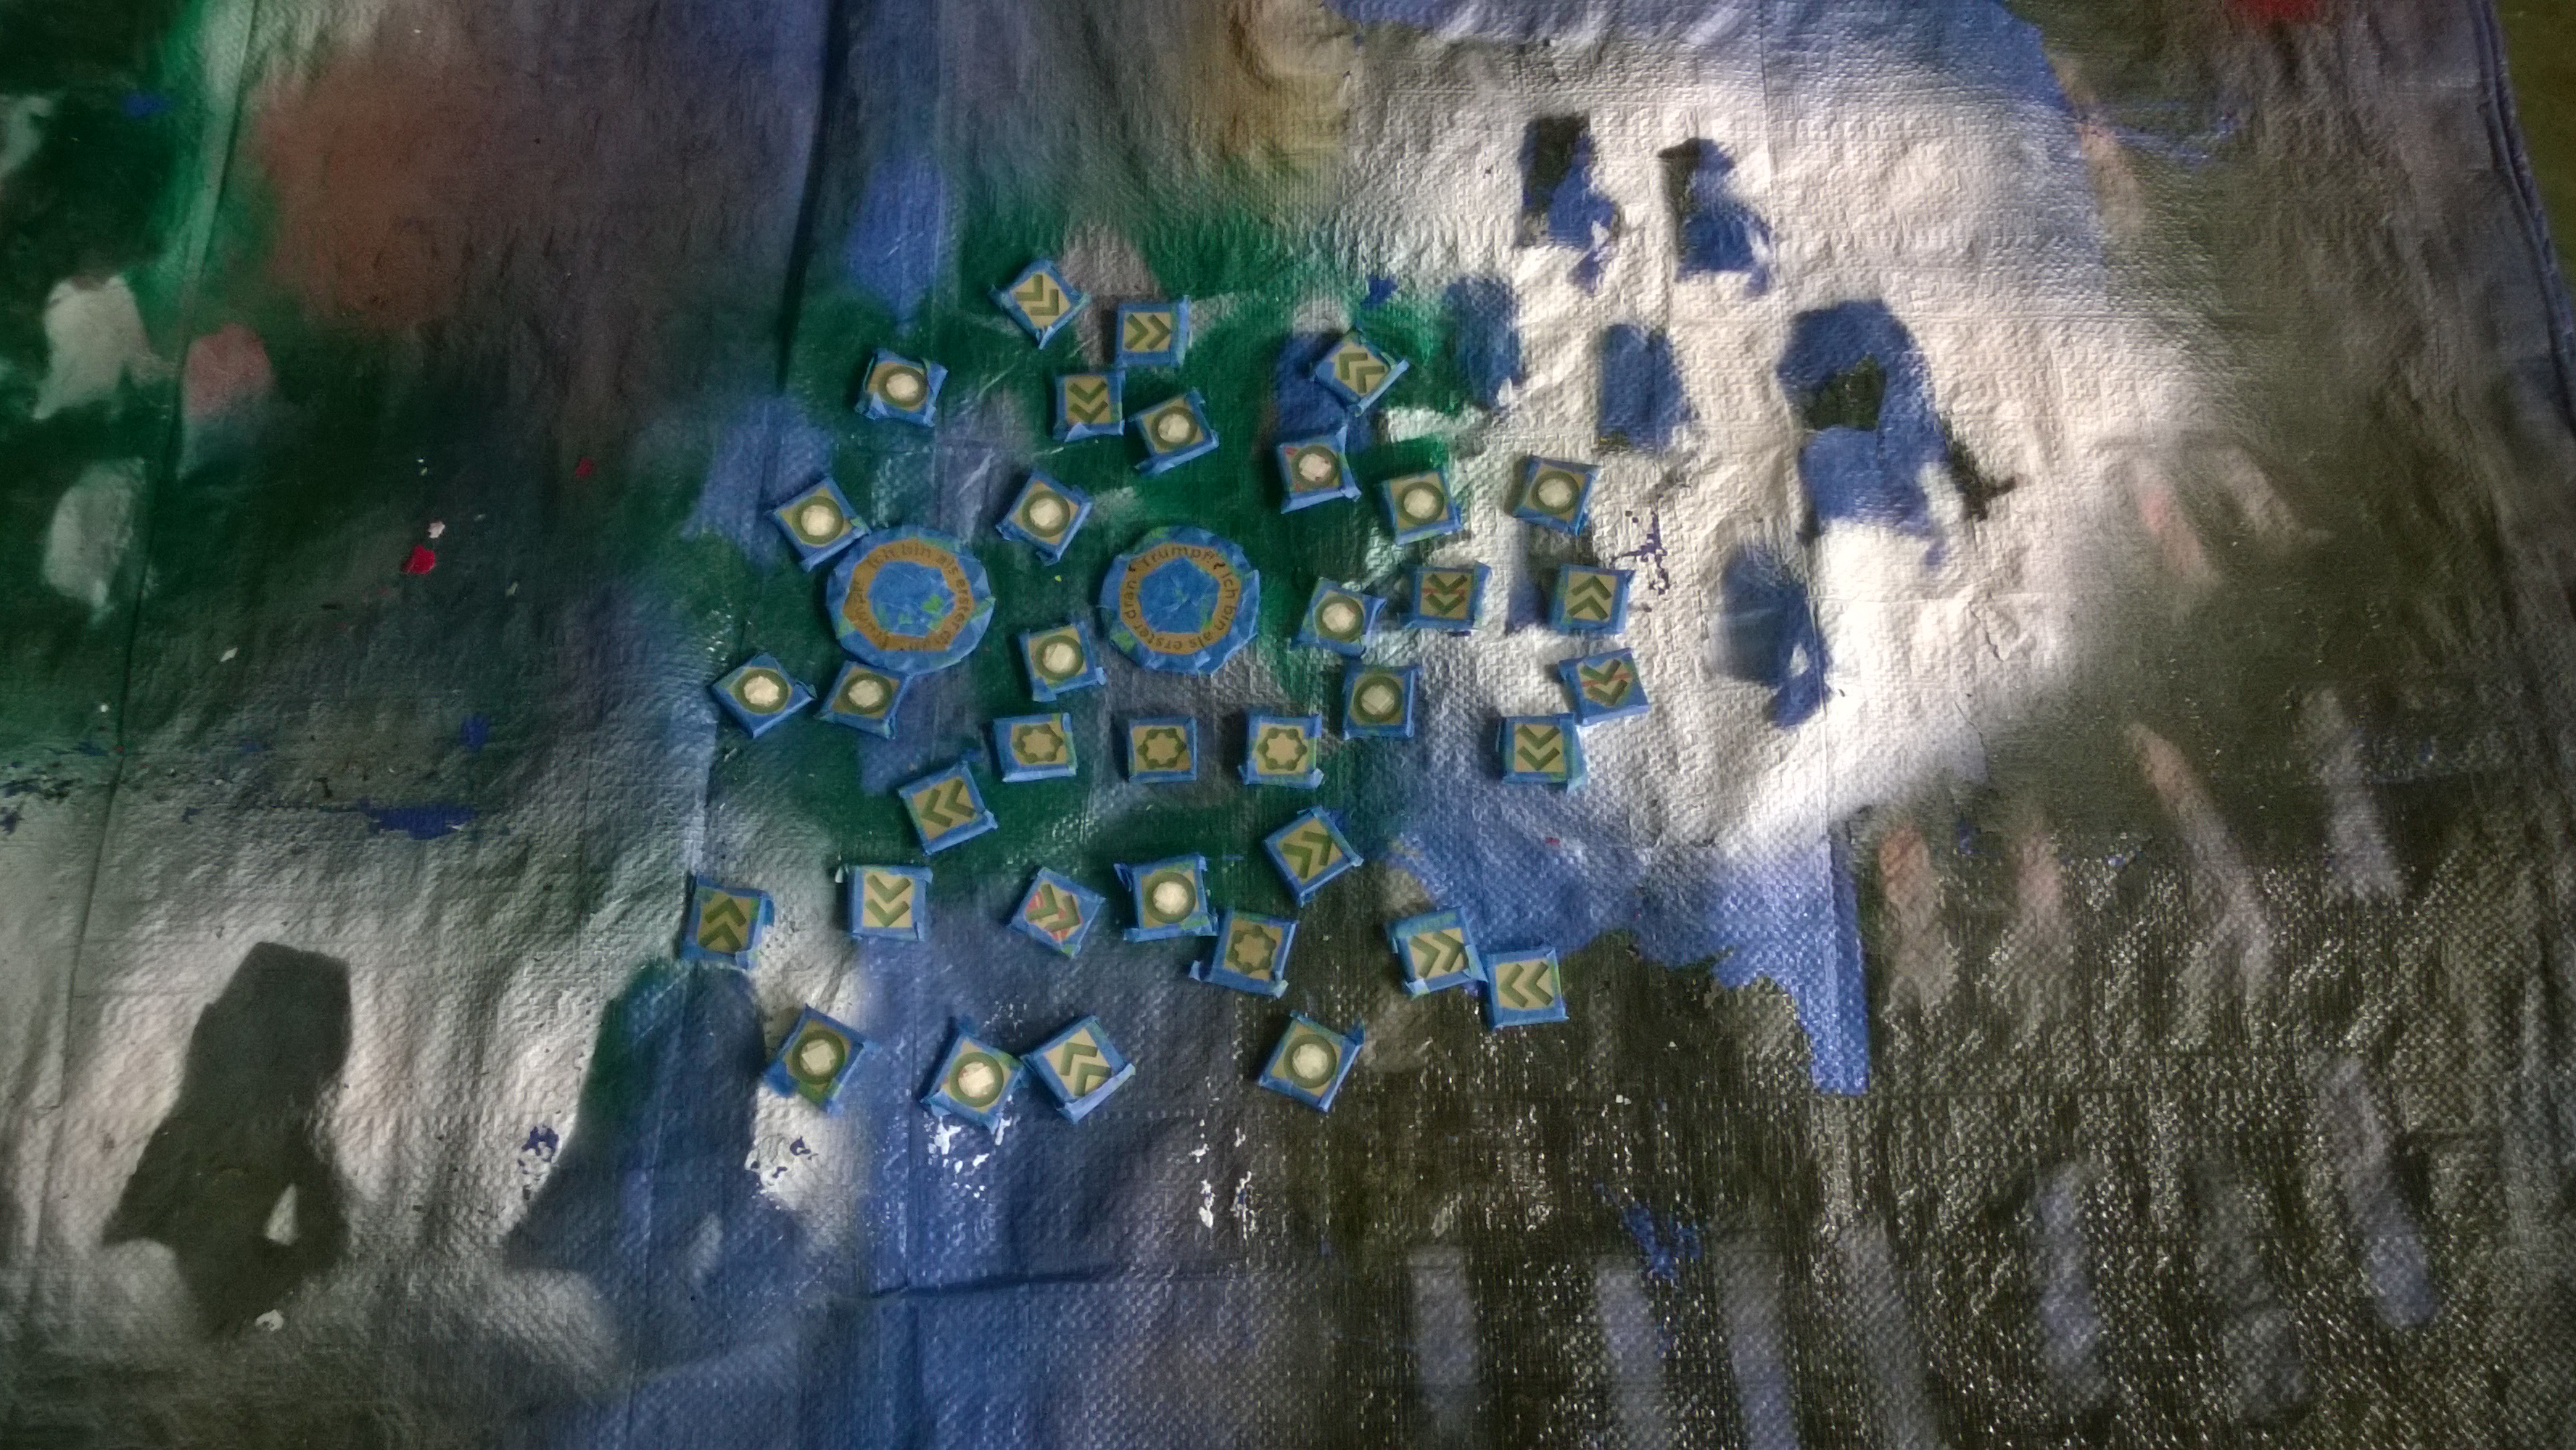
If you see two Trumpf tokens, you're imagining things. No, to be truthful I did have two. One had a less deep engrave on it for all the shapes. I thought it would turn out better, but it got a bit messed up during the painting process. This was likely due to the paint being closer to the unengraved surface and having to untape and retape the token to paint various parts differently. I don't send out things I'm not proud of, so I kept it. The second one turned out better even if some yellow paint did get into the letters.
The token was supposed to be the same on the back as the front but after dealing with all the taping, peeling, and re-masking of the front I decided just to do it all in one color. Looking at it now I wish I had spent the effort to do the two colors, but I don't think it looks bad this way. I only did the letters on one side for reasons of readability. The paint could be a bit better spread but even with the garage brought up to 65°F (~18°C), which was as high as I was able to get it to go, this is as good as it got.
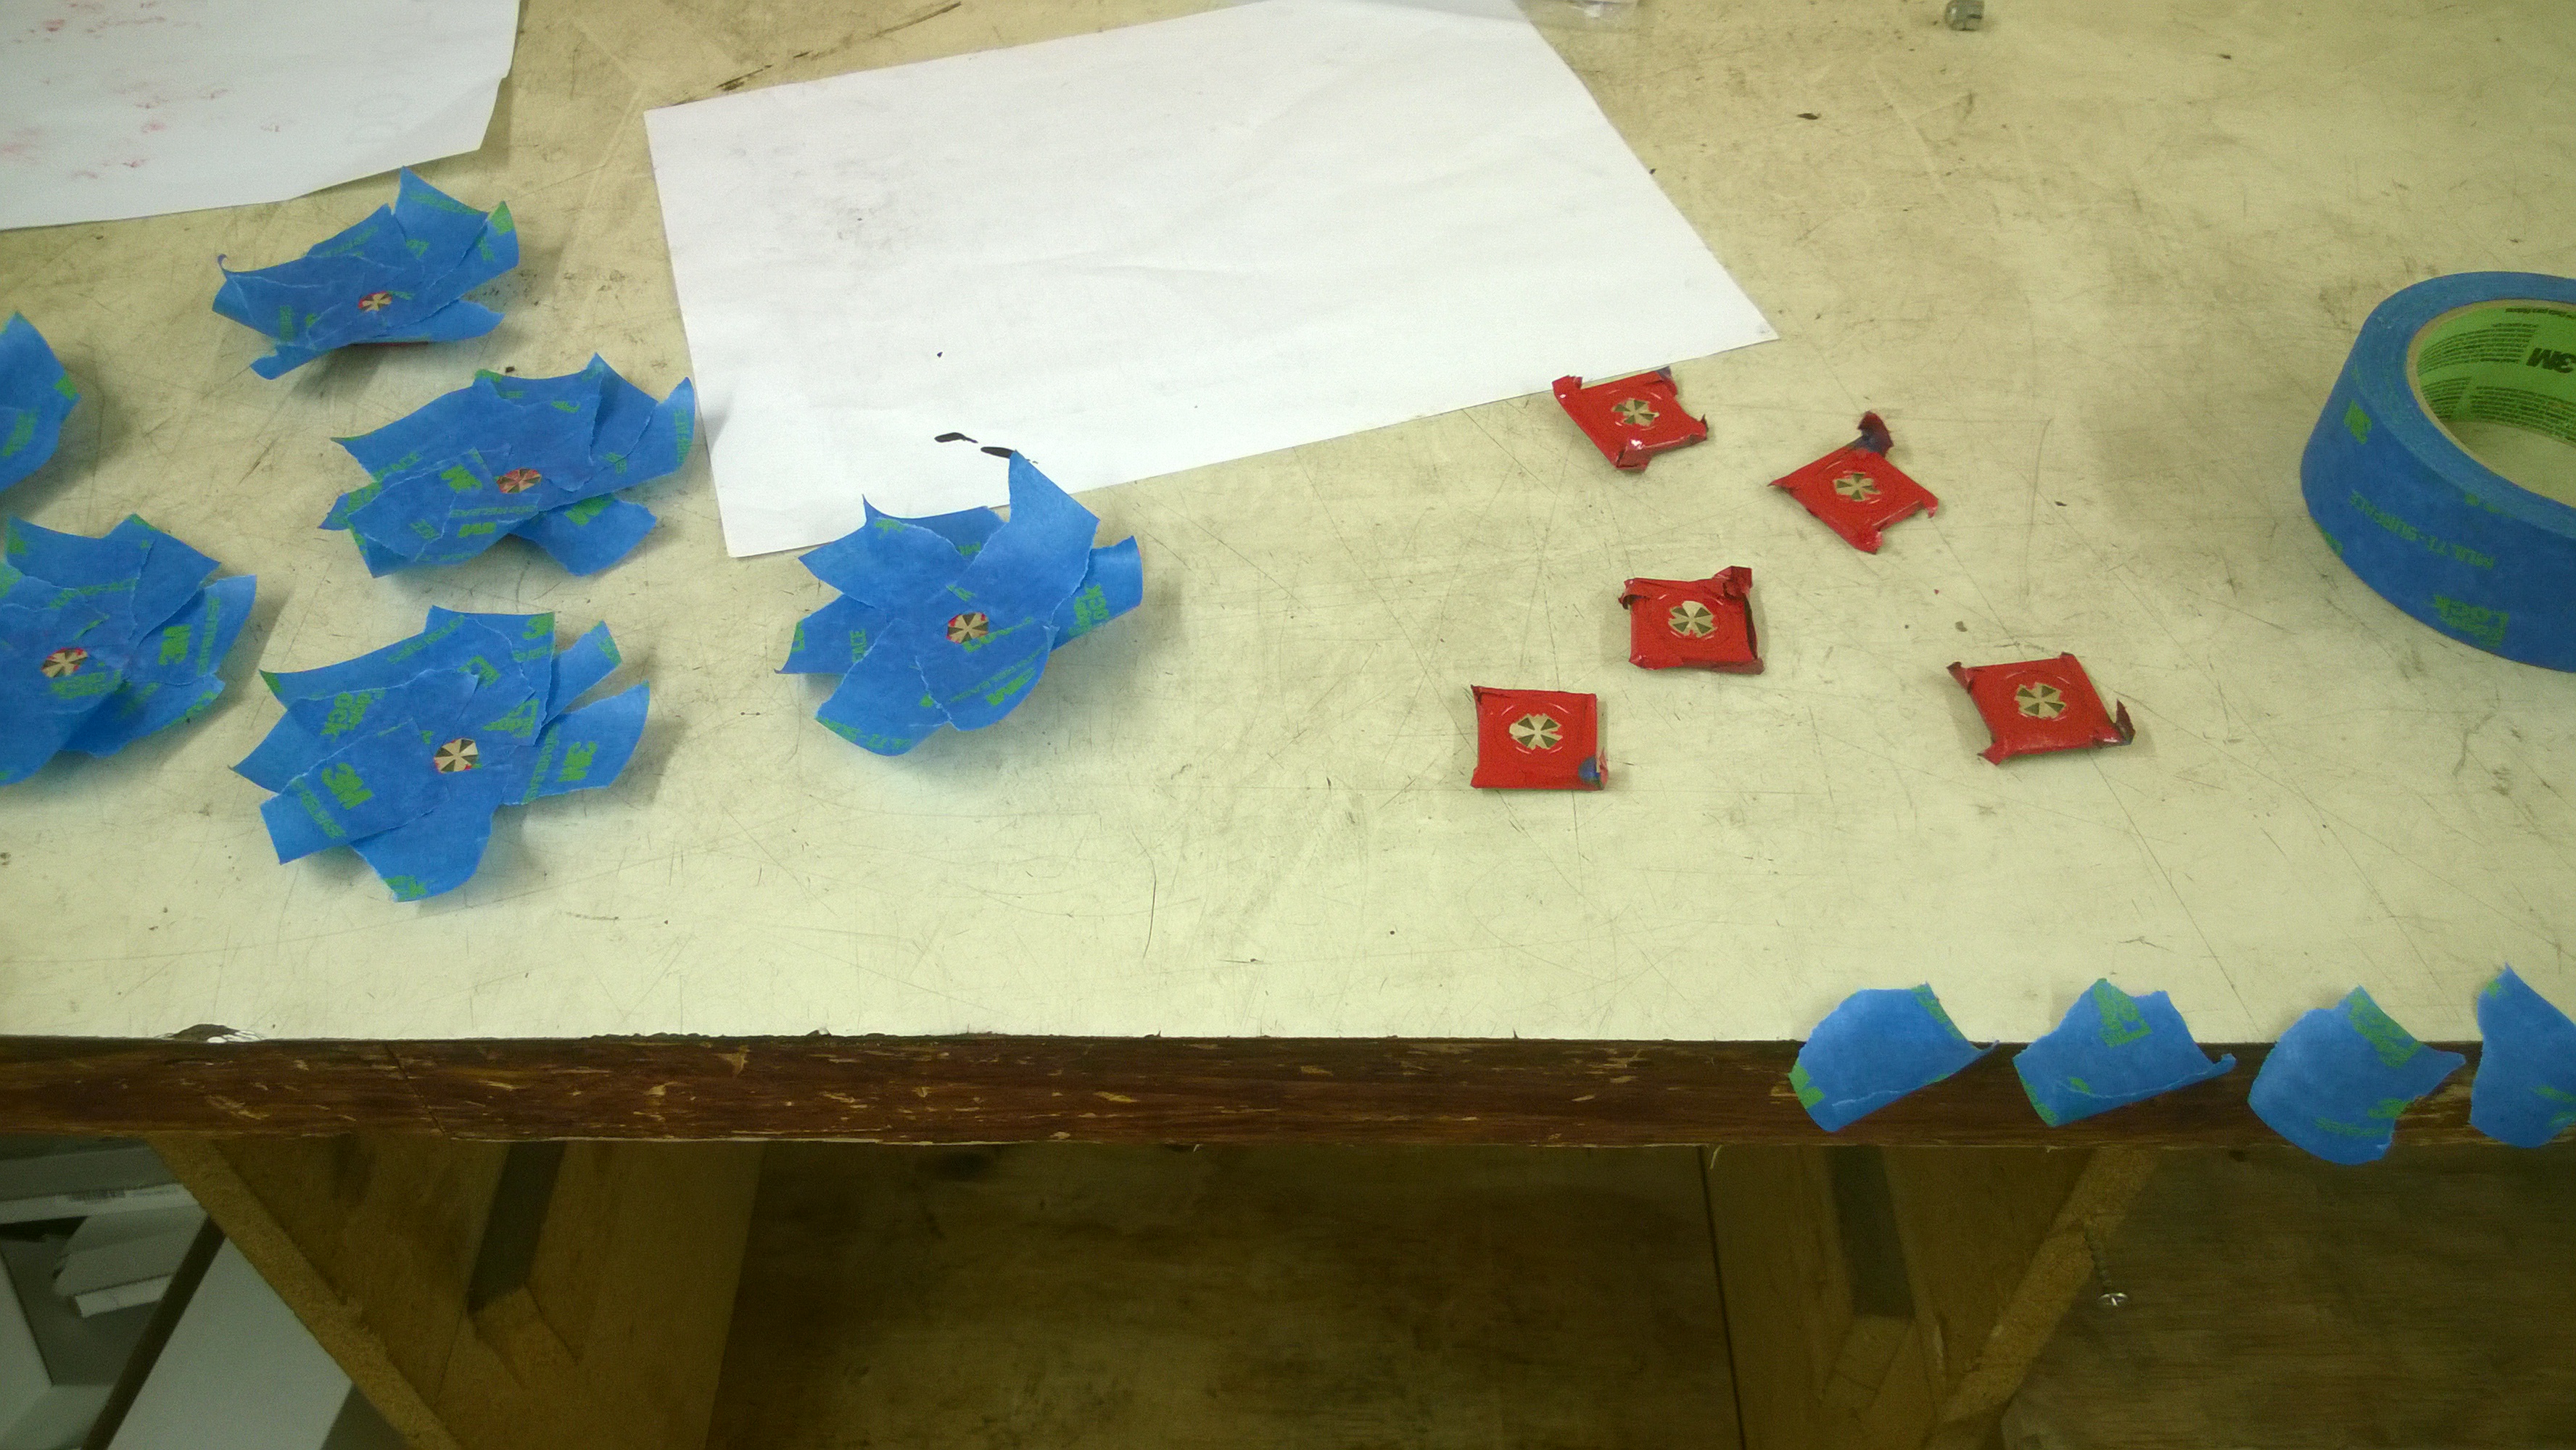
"The end result will be great, just like always." Yeah okay brain, but you always forget said end result involves a bunch of work. Same as always. With that in mind, I usually end up trying to optimize things, even if it means using a more liberal application of painter's tape. I also lucked out this time by deciding to do the ring first, as I doubt I'd have been able to easily mask off the center triangles with sticky paint-splotched fingers had I gone the other way.
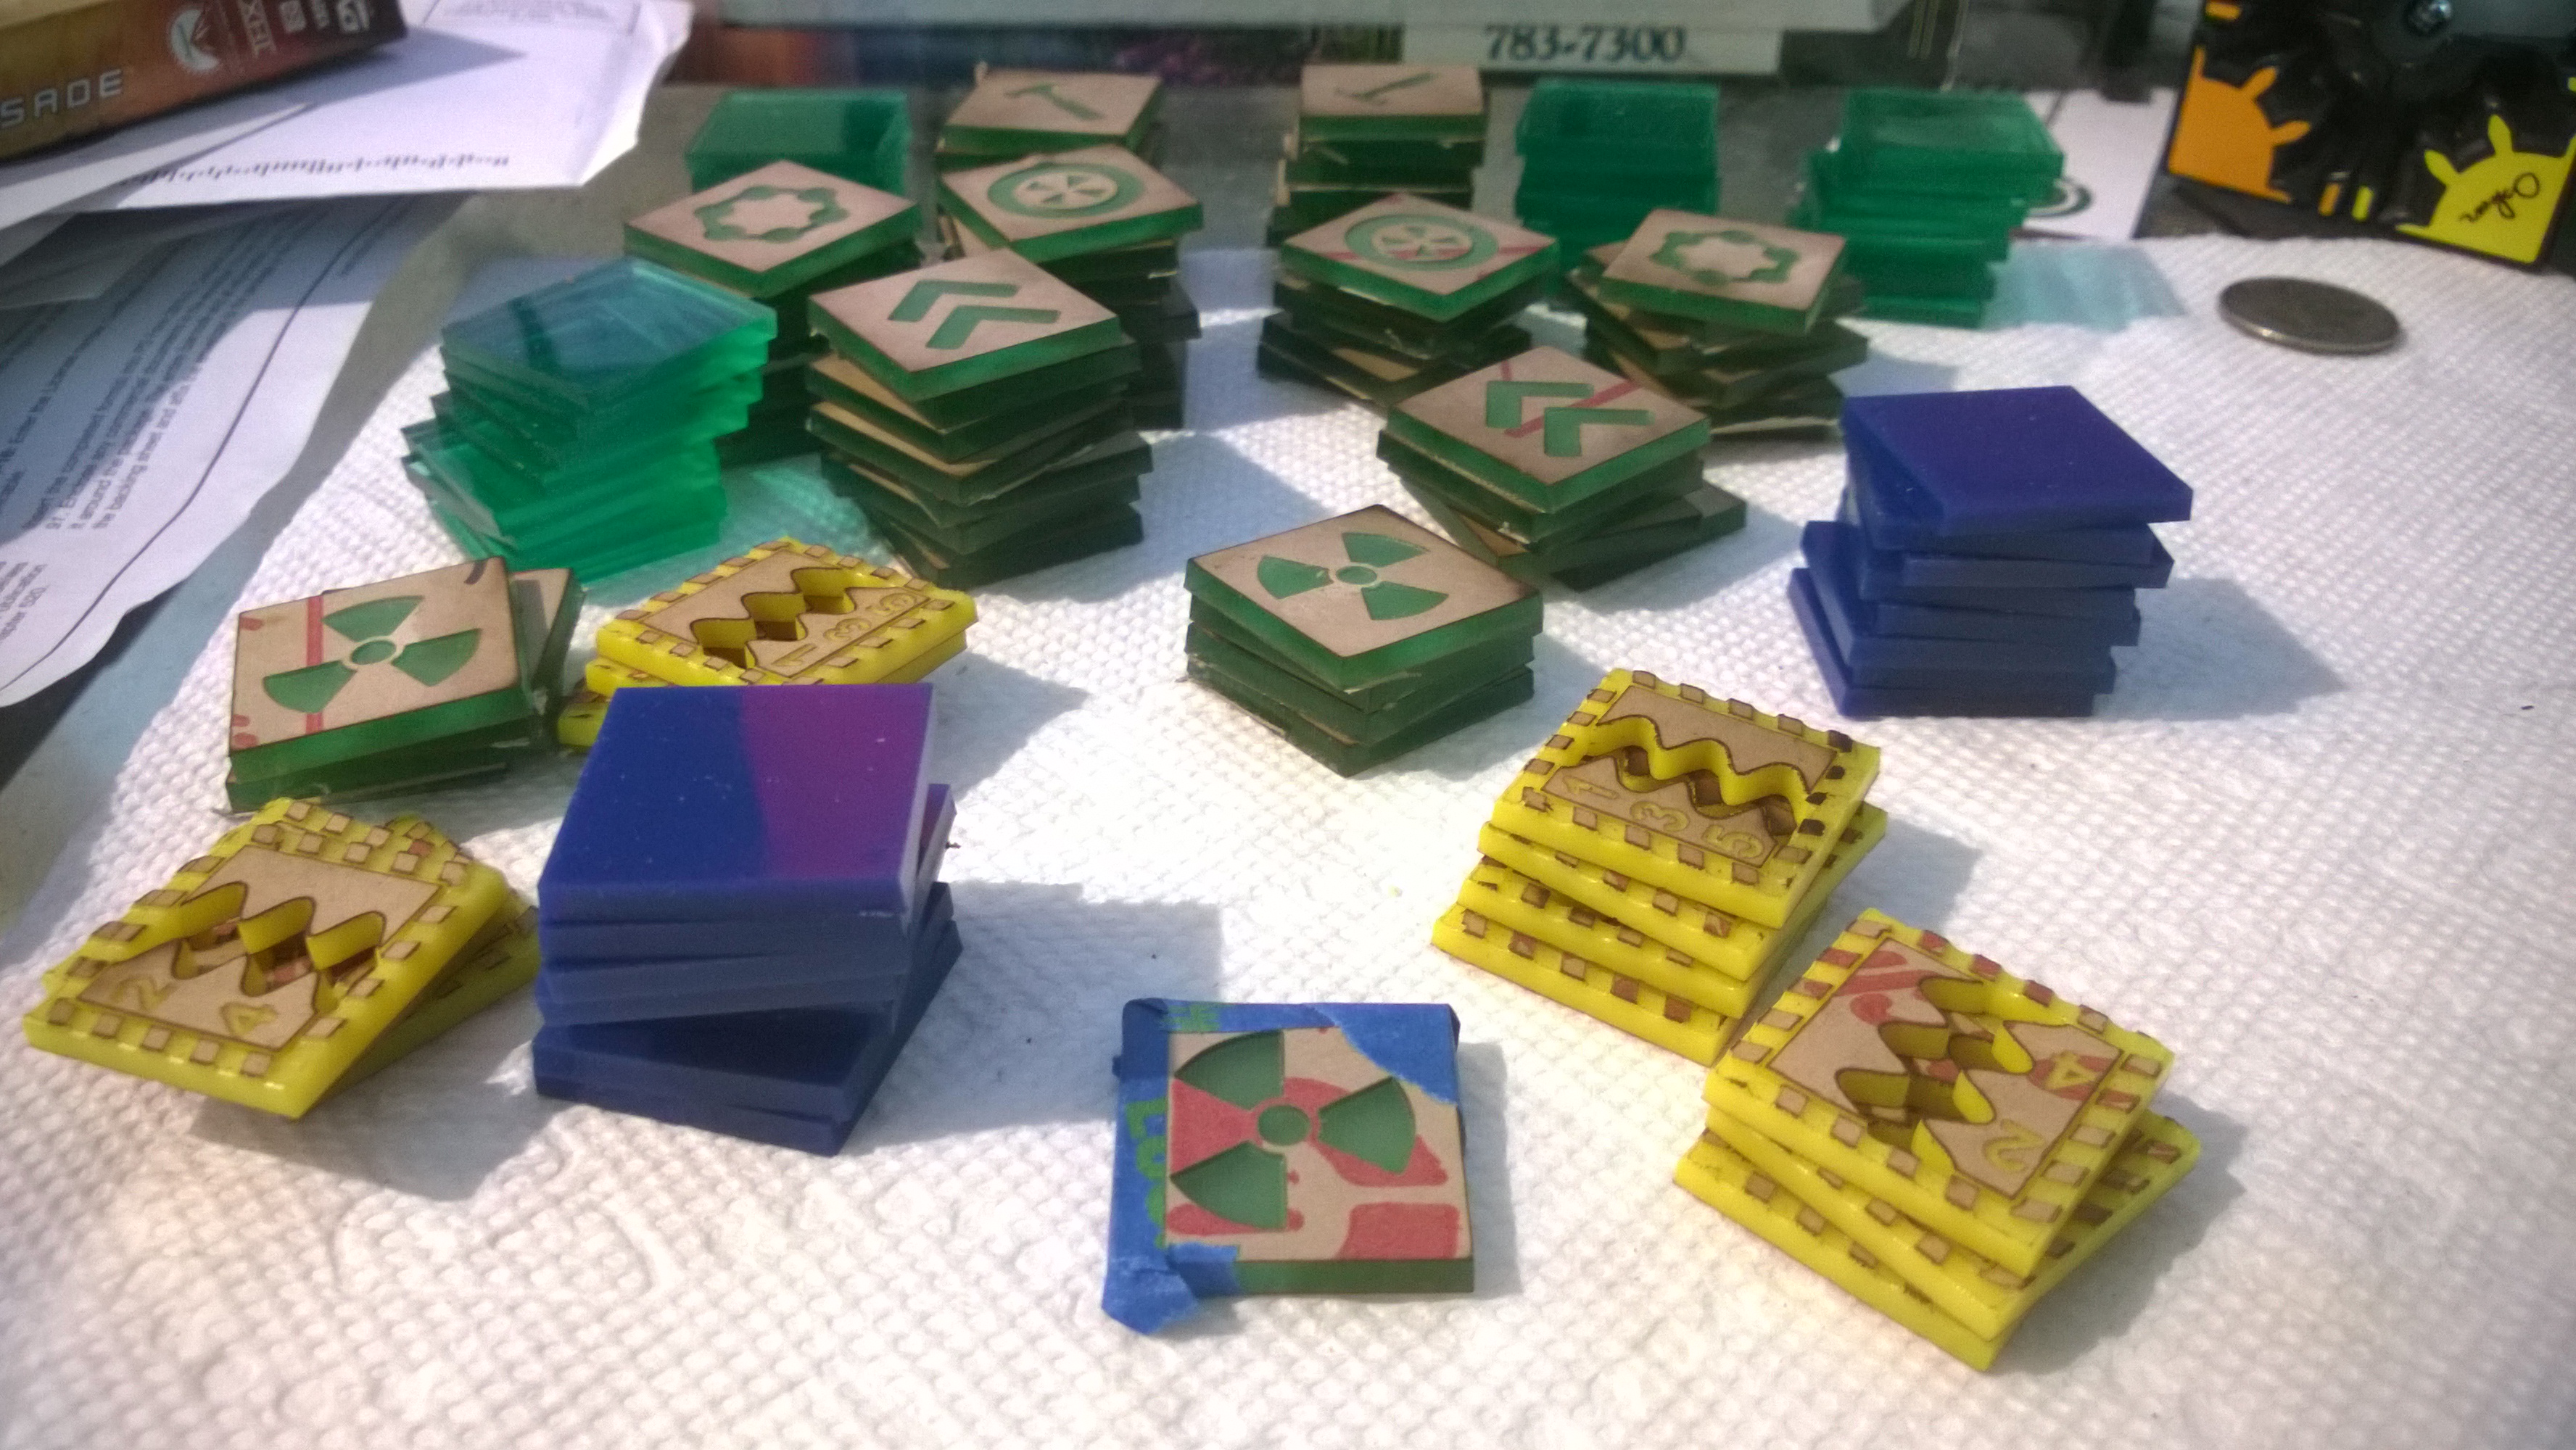
All done and ready to package for shipping.
Of course you'll have noticed by now that yours didn't arrive like this. I left the backing paper that comes on the acrylic so that if they do stick together during the shipping process you won't destroy anything by separating them again. Just peel off the paper and you're good to go. They should all be dry by the time they arrive so you shouldn't get any paint on your fingers. I hope. If they aren't just yet, they will, I promise.
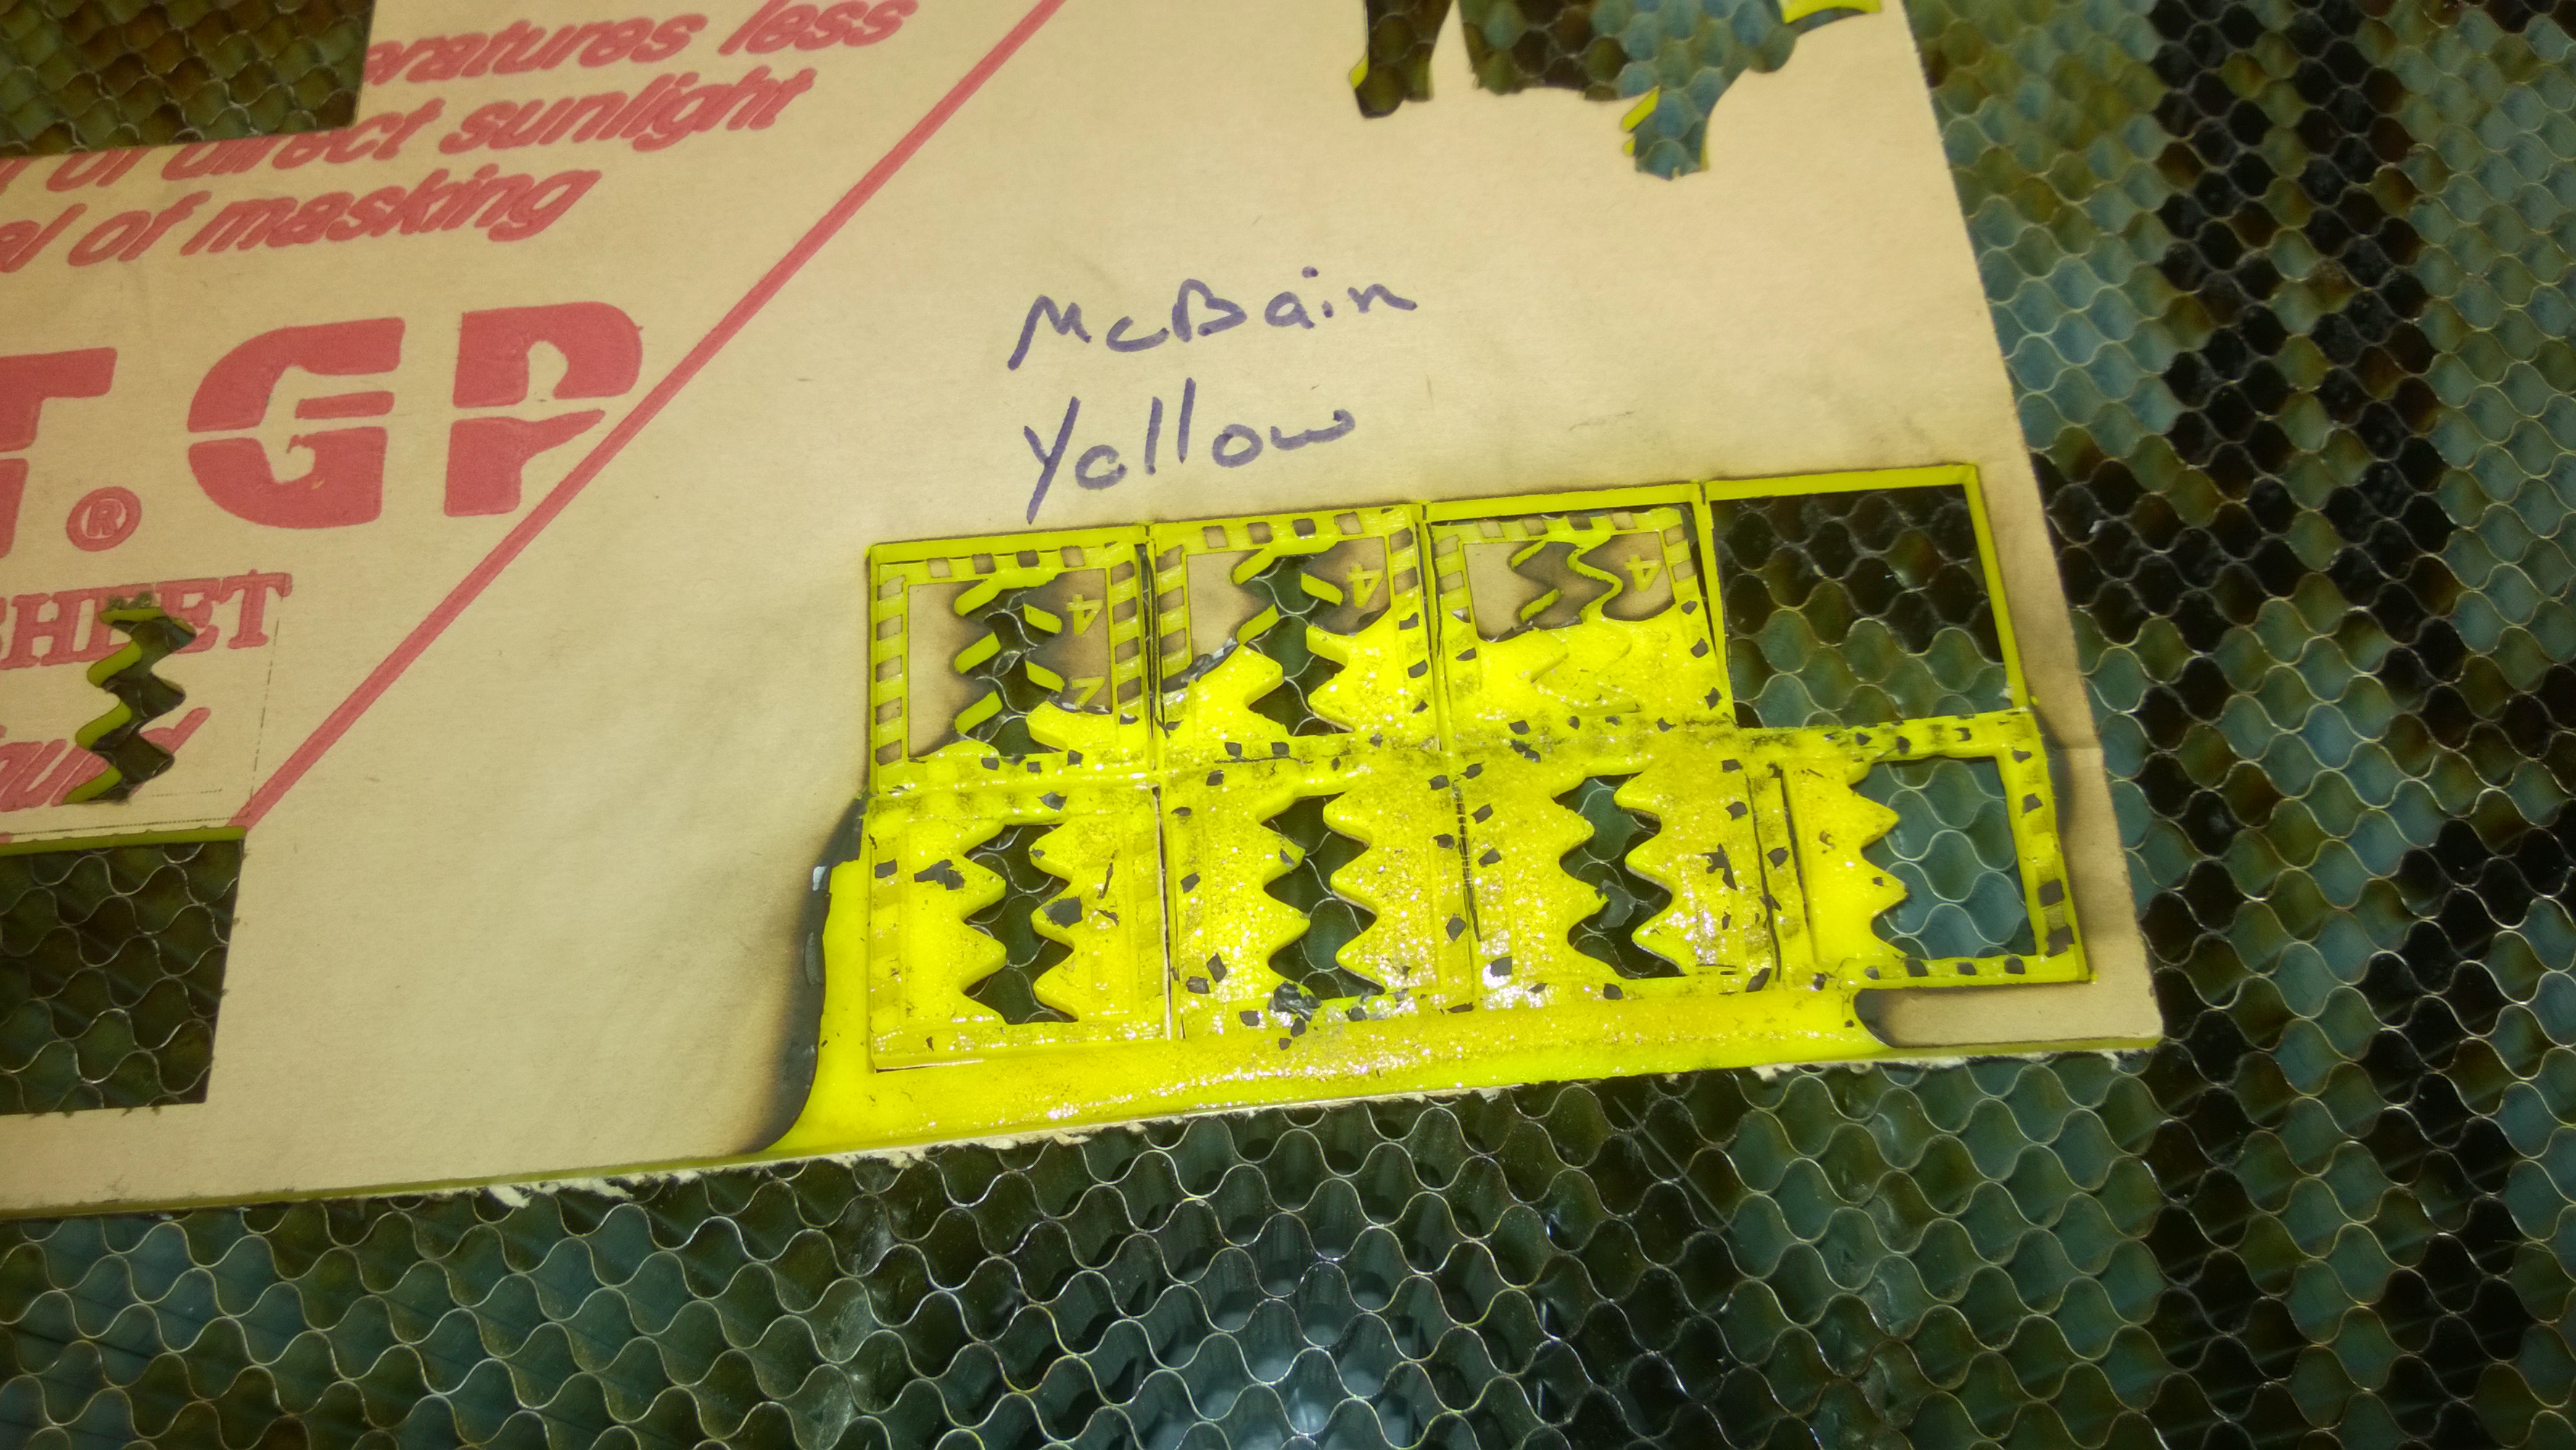
I captured some video of the Secret Santa token being made.
The tape was to provide a better engraving on that material and it also prevented the surface from being darkened by the laser. I had to tape the entire area otherwise there'd be an obvious lighter band where the tape used to be.
I hope you enjoy this stuff, even if I did get the acrylic colors mixed up. Happy playing and Fröhliche Weihnachten!